I am so excited about our new art room this year! I have been planning our new room design since March.
I started with some digital sketches. I wanted an "old world" design with a "museum" theme. So like if you took the Louvre and dropped it into ancient Greece then sprinkled in some famous artists and told them to have fun decorating. Here are the preliminary sketches I made with my Sketchbook App.
Here is how the room looked before. Lime green and lots of colors. I typically like lime green,
I actually painted my first classroom lime and gray and I loved it. But I wanted something more neutral and professional for this room. I want to make my students realize that they are real artists and they deserve to work in a real art environment.
So I started by painting the walls. 2 walls are dark charcoal gray, and 2 are "parchment". I used 3 kinds of tannish paint to create the effect and cheesecloth instead of a paintbrush to add texture.
 |
| Wow! That's what 2 classrooms of stuff looks like! |
While I was in my temporary room earlier this year, I worked on a large painting for the door. It's a mannequin with a fruit bowl painted on a bed sheet. I added it to the door and my fantastic husband created a "picture frame" on the door from moulding. Now you enter the room through a giant painting. ^_^
On the front wall, we added more moulding (thanks husband) to turn the whole board into a giant painting. The we hung smaller paintings around the board to create a "gallery" reminiscent of old French parlors.
 |
| The front board frame, before the cork board was painted. |
AND I have to brag on my thrifting skills. I got all of these frames from a thrift store for less that $20 for the whole set. Some of them already had usable paintings in them, like that awesome giant Monet print. ^_^
On the opposite wall, we have giant windows and above the windows I hung posters of our House Crests I had printed at Staples. With coupon, these were $30 to print.
My storage in this room is a wall of lockers. Unfortunately, only a couple have closable doors and the rest are open and look like clutter. I cut up black bed sheets and glued them to wooden dowels. I hung the wooden dowels above the lockers on Command hooks to cover them up. Love that plain background. :D
Above the lockers, I painted a mural of a hand drawing the word "Create". I used a large cardboard tube and plastic cone from a thread spool to make the giant pencil. I painted a poster board with the same paint as the wall so that I could have the thumb overlap the pencil so it looks like it's coming out of the wall.
I also made a giant paintbrush from a large LARGE cardboard tube, silver duct tape, and black wigs. Surprisingly effective.
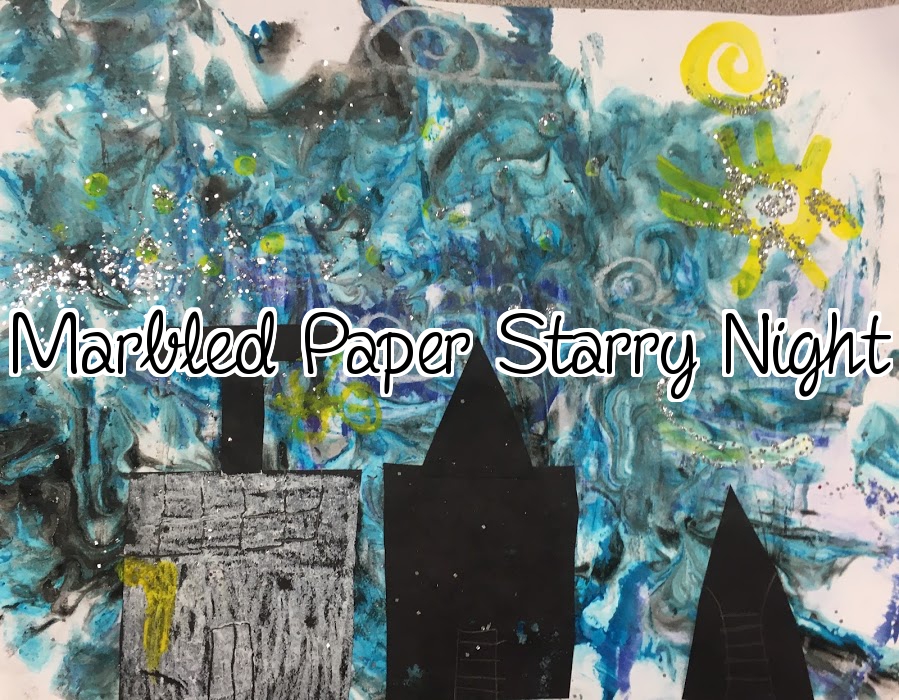
The rest of the room has still-life items as decor and easels for artworks of the artist we are currently studying. We are starting with Vincent van Gogh, so lots of Van Gogh stuff so far.
AND I have a stage in my room. I want to encourage students to become teachers, so when they speak about what we are studying, the come to the stage and address the class using eye contact and a "teacher" voice. The stage is made from a palette with plywood on top painted gold. I used leftover fabric from the curtains around the bottom.
A board of the new standards, framed, with large wooden paintbrushes. Conveniently found at a thrift store in my school colors.
I got these plastic Crayola cups from Kroger, perfect for plants!
Our line-up area has paper colored pencils in house colors on the floor. My Fidelis banner on the door, and the Dali clock. I also have a giant ruler clip for "No Name" works.
And that's it! Check out the video on YouTube for more details! Looking forward to an amazing year growing the best artists in the world! ^_^